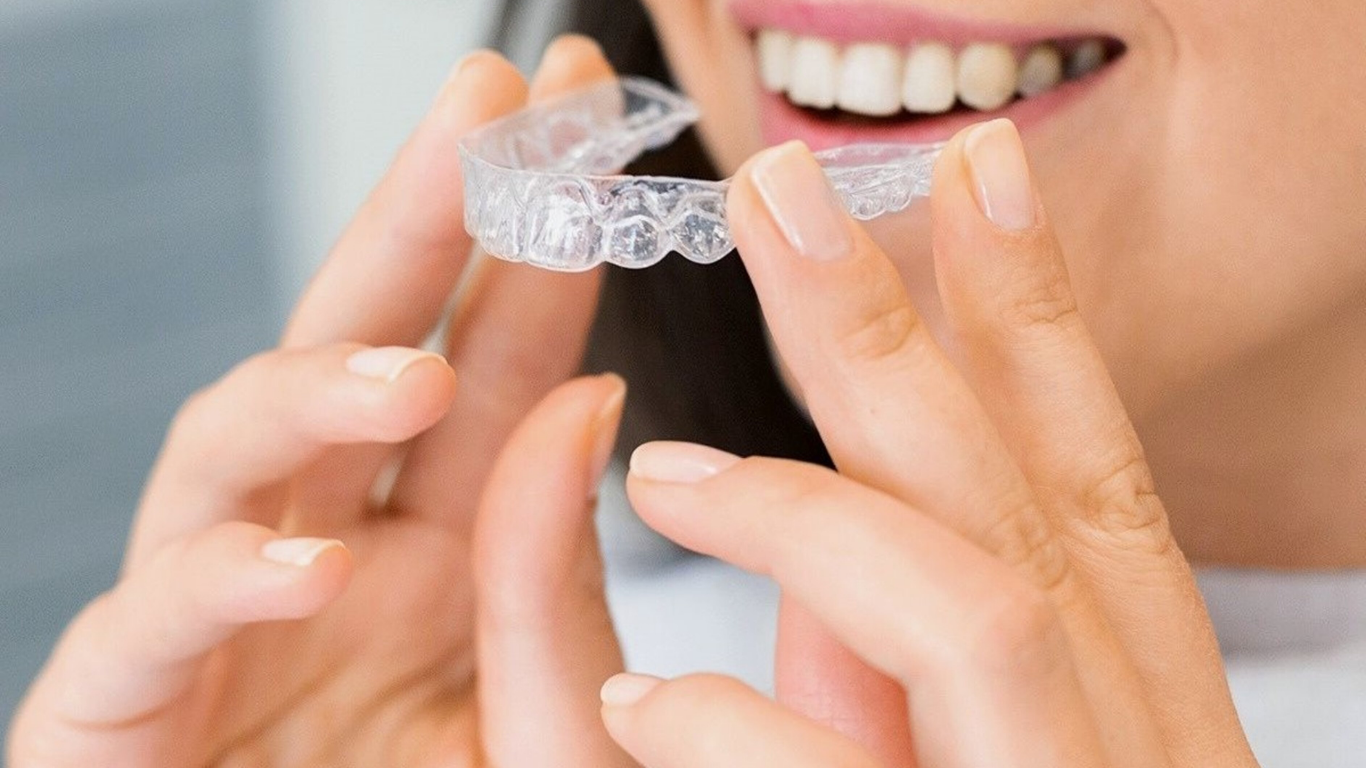
Maximizing Your Dental Insurance Coverage for Veneers: Tips and Factors to Consider

When considering getting veneers, understanding the cost implications with insurance is crucial. There are several factors that can affect the cost of veneers with insurance coverage. It's important to choose the right insurance plan and be aware of additional costs that may arise. Here are some key takeaways to keep in mind when exploring veneers cost with insurance:


Key Takeaways


  • Dental insurance coverage plays a significant role in determining the cost of veneers.
  • The location of the dental clinic can impact the overall cost of veneers with insurance.
  • Material quality of the veneers can affect the cost even with insurance coverage.
  • Choosing an in-network provider can result in lower out-of-pocket costs for veneers with insurance.
  • Understanding and maximizing your insurance benefits can help reduce the overall cost of veneers.


Factors Affecting Veneers Cost


Dental Insurance Coverage


The cost of veneers can be significantly impacted by the details of your dental insurance coverage. Most dental insurance plans categorize veneers as a cosmetic procedure, which may not be covered or could be covered at a lower rate than other dental treatments. It's crucial to understand the specifics of your policy, including deductibles, co-pays, and the percentage of coverage for cosmetic procedures.


  • Review your insurance policy's Summary of Benefits to determine if veneers are covered.
  • Contact your insurance provider to clarify coverage limits for veneers.
  • Consider the timing of the procedure within your policy year to maximize benefits.


Remember, even if veneers are partially covered, you may still be responsible for a significant portion of the cost. Planning and communication with your insurance provider are key to managing expenses.
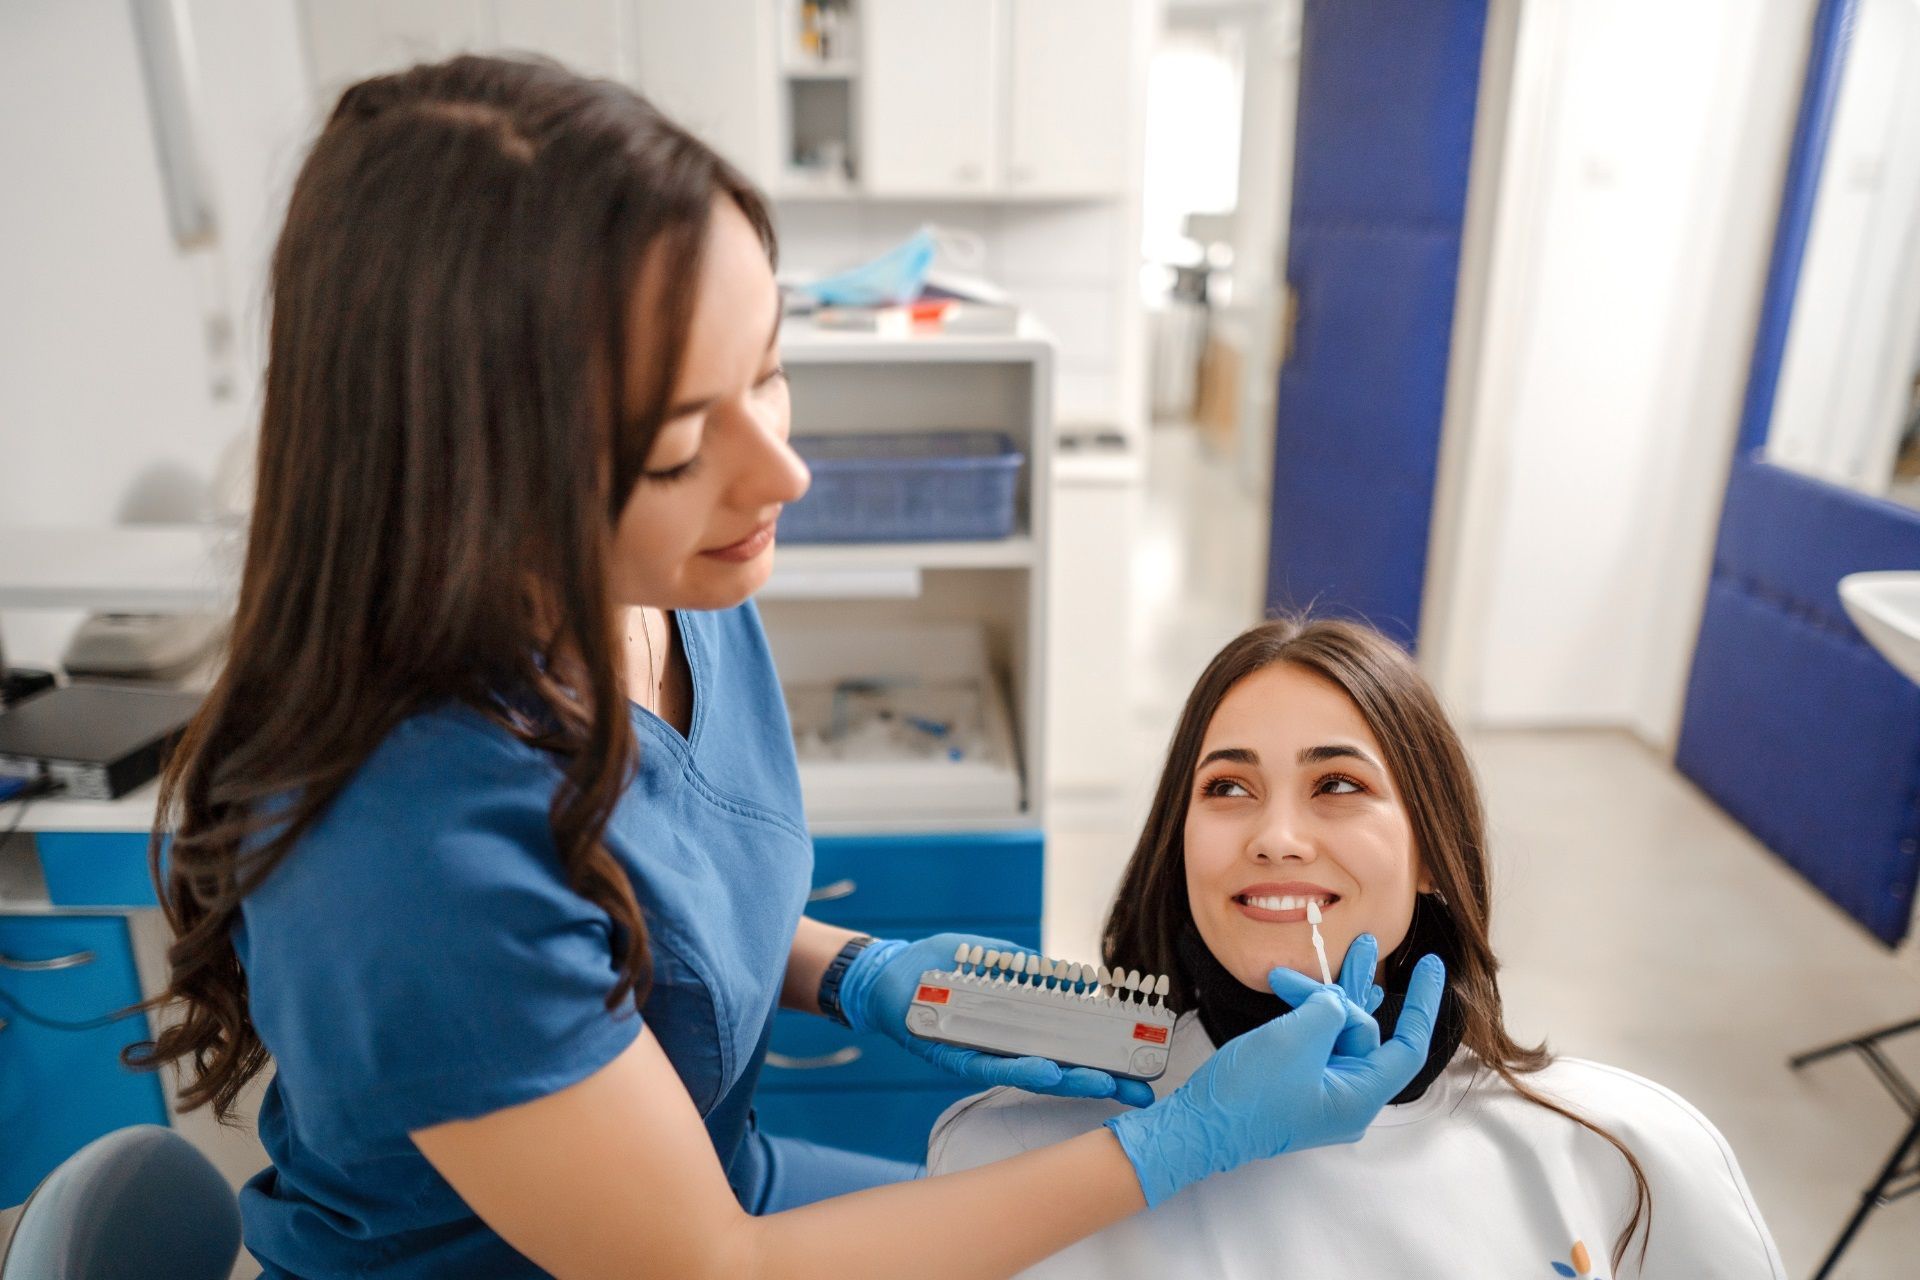
Location of the Dental Clinic


The geographical location of your dental clinic can significantly influence the cost of veneers. Prices may vary widely from one region to another, reflecting the cost of living and the average market rates for dental services in the area.


  • Urban areas with a higher cost of living typically have more expensive dental care.
  • Rural or suburban areas might offer more competitive pricing.


It's essential to compare prices among different clinics in your vicinity to ensure you're getting a fair deal.


Remember that while a lower price might be tempting, it's crucial to consider the expertise and reputation of the dental clinic. A reputable clinic in a more expensive area might offer better long-term value than a less established clinic with lower upfront costs.


Material Quality


The quality of the materials used for veneers can significantly impact the overall cost. High-quality porcelain veneers are often more expensive than composite resin veneers but tend to last longer and provide a more natural appearance. When considering veneers, it's important to discuss with your dentist the types of materials available and their respective costs.


  • Porcelain veneers: More durable and stain-resistant.
  • Composite resin veneers: Less expensive but may require more maintenance.


While insurance may cover a portion of the cost, the choice of material can affect the total out-of-pocket expenses. It's essential to balance the long-term benefits with the immediate costs.


Remember that the longevity and appearance of your veneers will also depend on how well you take care of them. Regular oral hygiene and avoiding habits that could damage your veneers, such as biting on hard objects, are crucial for maintaining their condition.


Choosing the Right Insurance Plan


In-Network vs Out-of-Network Providers


Choosing between in-network and out-of-network dental providers can significantly impact the cost of veneers with insurance. In-network providers have agreed-upon rates with your insurance company, which often means lower out-of-pocket costs for you. On the other hand, out-of-network providers do not have pre-negotiated rates, which can result in higher expenses.


  • In-network providers: Lower costs due to pre-negotiated rates.
  • Out-of-network providers: Potentially higher costs without rate agreements.


It's crucial to verify whether your chosen dentist is in-network to avoid unexpected costs. If you prefer an out-of-network dentist for their expertise or quality of care, be prepared to pay more than you would with an in-network provider.


When considering the cost of veneers, remember that the choice of provider is just as important as the type of veneer or the complexity of your dental needs.


Annual Maximum Coverage


When selecting a dental insurance plan, it's crucial to consider the annual maximum coverage. This is the maximum amount your insurance will pay for your dental care within one year. Once you reach this limit, you'll have to pay out-of-pocket for any additional treatments.


  • Review your plan's annual maximum to ensure it aligns with your dental care needs, especially if you're considering cosmetic procedures like veneers.
  • Compare the cost of veneers with your annual maximum to avoid unexpected expenses.
  • Consider the timing of your procedure within the insurance year to maximize benefits.


Remember, if the cost of veneers exceeds your annual maximum, you may need to plan your treatment over two insurance periods to fully utilize your benefits.


Pre-authorization Requirements


Before undergoing the procedure for veneers, it's crucial to understand the pre-authorization requirements of your dental insurance plan. Pre-authorization is a common prerequisite for many insurers, which means you'll need to obtain approval from your insurance company before the treatment begins to ensure coverage.


  • Submit a detailed treatment plan from your dentist.
  • Provide any necessary supporting documentation, such as X-rays or photos.
  • Wait for the insurance company's review and approval before scheduling the procedure.


Failing to comply with pre-authorization requirements can lead to unexpected out-of-pocket expenses. It's a step that cannot be overlooked if you want to maximize your insurance benefits.


Additional Costs to Consider


Consultation Fees


Before you can get veneers, a preliminary consultation with your dentist is essential. This appointment is for evaluating your dental health and discussing the desired outcome. Consultation fees can vary widely depending on the dentist's experience and the complexity of your case.


  • Assessment of oral health
  • Discussion of veneer options
  • Creation of a treatment plan


It's important to note that some dental insurance plans may not cover the consultation fee, considering it as a non-essential cosmetic expense. Therefore, it's crucial to check with your insurance provider beforehand to understand what is included in your coverage.

Remember, this initial investment in consultation can save you from unexpected expenses by ensuring that veneers are the right choice for your dental needs.


X-Rays and Diagnostic Tests


Before veneers can be placed, a thorough examination of your oral health is necessary. This often involves X-rays and diagnostic tests to assess the condition of your teeth and gums. These preliminary steps are crucial for detecting any underlying issues that could affect the longevity and success of your veneers.


  • X-rays help in the early detection of cavities and gum disease.
  • Diagnostic tests can reveal signs of oral cancer.
  • Precise treatment planning is facilitated by advanced imaging techniques.


Remember, while these procedures are essential, they can add to the overall cost of getting veneers. It's important to check with your insurance provider to see if these are covered under your plan and to what extent.


Post-Procedure Care


After getting veneers, post-procedure care is crucial for maintaining oral health and ensuring the longevity of the treatment. Regular bite evaluations are important to check for any adjustments that might be needed over time. These evaluations can help in identifying issues such as malocclusion, which can affect not only the veneers but also your overall oral health.


  • Treatments for malocclusion and other dental issues vary and might include braces or restorative procedures.
  • Children, in particular, can benefit from early identification and treatment of dental problems.
  • Most dental insurance plans cover bite evaluations, making them an accessible part of post-procedure care.


It's essential to follow your dentist's recommendations for care after veneer placement to avoid complications and additional costs. Regular check-ups and cleanings will help to keep your veneers in top condition.


Tips for Maximizing Insurance Benefits


Understanding Policy Details


To ensure you are fully leveraging your dental insurance when considering veneers, it's crucial to understand the specifics of your policy. This includes knowing the extent of coverage for cosmetic procedures, as many insurance plans categorize veneers as a cosmetic procedure and may offer limited or no coverage.


  • Review the summary of benefits to identify what is covered and the percentage of the cost you are responsible for.
  • Check for any waiting periods that may apply before you can utilize benefits for certain procedures.
  • Determine if your policy has any exclusions or limitations specifically related to veneers.


By familiarizing yourself with these details, you can avoid unexpected expenses and make informed decisions about your dental care.


Regular Dental Check-ups


Maintaining regular dental check-ups is crucial for the longevity of your veneers and can also help in maximizing your insurance benefits. During these visits, your dentist can identify any issues early on, potentially saving you from costly repairs or replacements that might not be covered by insurance.


  • Schedule check-ups every six months or as recommended by your dentist.
  • Use these appointments to discuss the health of your veneers and any concerns you may have.
  • Keep a record of all visits and treatments to ensure accurate insurance claims.


Regular check-ups are not just about cleaning; they are an investment in the health of your veneers and your overall oral health. By staying proactive, you can avoid the need for more extensive dental work that could exceed your annual insurance coverage limits.


Utilizing Flexible Spending Accounts


Flexible Spending Accounts (FSAs) can be a strategic way to manage out-of-pocket dental expenses, including those for veneers. By allocating pre-tax dollars to an FSA, you can effectively reduce your taxable income and save money on procedures not fully covered by insurance.


  • Determine the annual contribution limit for your FSA.
  • Estimate your upcoming dental expenses, including veneers.
  • Allocate funds accordingly during your employer's enrollment period.


Remember, FSA funds are use-it-or-lose-it, so plan carefully to avoid forfeiting unused contributions at the end of the year. It's also important to check if your dental clinic accepts FSA payments; for instance, John K Drisdale DMD in Midland, TX, provides various cosmetic dentistry services that may be eligible for FSA use.

Frequently Asked Questions
  • What is the average cost of veneers with insurance coverage?

    The cost of veneers with insurance coverage can vary based on factors such as the type of insurance plan, location, and material quality. On average, the cost can range from $500 to $1,500 per tooth.

  • Does dental insurance cover the full cost of veneers?

    Dental insurance typically does not cover the full cost of veneers. Most insurance plans provide coverage for a portion of the cost, and the patient is responsible for the remaining balance.

  • Are there any restrictions on the type of veneers covered by insurance?

    Some insurance plans may have restrictions on the type of veneers that are covered. It's important to check with your insurance provider to understand what is included in your coverage.

  • How can I find out if my insurance plan covers veneers?

    You can contact your insurance provider directly or consult with your dentist's office to verify if veneers are covered under your plan. It's recommended to review your policy details for specific information.

  • Are there any waiting periods for veneers coverage with insurance?

    Some insurance plans may have waiting periods before covering certain procedures like veneers. It's advisable to check the terms of your insurance plan to understand any waiting period requirements.

  • Can I upgrade to premium veneer materials with insurance coverage?

    Insurance coverage for veneers may vary based on the material quality. While some plans may cover basic materials, upgrading to premium veneer materials may require additional out-of-pocket expenses.

September 11, 2026
Here's the reassuring part first: in the vast majority of cases where Invisalign seems to have stalled, stopped tracking, or is running behind schedule, the fix is a refinement, not a restart. It's a genuinely annoying moment, watching a treatment you've stuck with for months seem to stop cooperating for no clear reason. But "not working as expected" covers a wide range of situations, from a single tray that won't seat flush to a timeline that's quietly slipped by six weeks, and most of them have a clear explanation and a straightforward next step. Invisalign works by using a series of custom, removable clear aligners, each slightly different from the last, to apply gentle, continuous pressure that gradually moves teeth into a planned position over roughly one to two weeks per tray. When that process doesn't go as expected, it's almost always tied to how consistently the aligners are worn, how well a given tray is tracking, or a plan that needs a mid-course adjustment. Quick Answer: Loose-fitting trays, teeth that seem stuck, or a schedule that's fallen behind are usually wear-time or tracking issues, not treatment failure. A dentist typically resolves this with a refinement: new scans and a short new series of aligners to finish the movement the original plan didn't quite complete. Key Takeaways Mild pressure for the first one to three days of a new tray is normal and means the aligner is doing its job. A tray that won't snap flush against your teeth after a couple of weeks is the clearest sign something's off. Not wearing aligners the full 20 to 22 hours a day is the single most common reason treatment slows down. A refinement means new scans and a short new set of aligners, not starting the whole plan over. Lost or loose attachments, the small tooth-colored bumps some plans use, can quietly stall how well a tray fits. Teens still growing sometimes need their plan reassessed partway through, which is normal rather than a sign anything went wrong. How Invisalign Is Supposed to Work Invisalign starts with a digital scan of your teeth, which gets turned into a 3D treatment plan mapping out exactly how each tooth needs to move, in what order, and over how many stages. From that plan, a lab produces a full series of clear aligner trays, each one a small step closer to the final position and each slightly different from the one before it. You wear one tray for about one to two weeks, then move to the next, and the plastic itself applies gentle, continuous pressure that encourages the bone around each tooth to remodel slowly around the new position. It's a slower process than traditional braces by design. That gradual pace is part of what makes it more comfortable and lets you keep wearing removable trays instead of fixed brackets and wires. For it to work the way it's planned, though, two things have to hold true: you need to actually wear the trays close to the full recommended 20 to 22 hours a day, and each tray needs to seat fully, or "track," before you move to the next one. When either of those breaks down, that's when people start to feel like Invisalign isn't working. What "Working" Actually Feels Like, Week to Week A new tray typically feels snug, sometimes a little too snug, for the first one to three days. That tightness is a good sign. It means the tray is applying pressure to teeth that haven't caught up to that stage yet. By day three or four, most people stop noticing it entirely, and the tray should sit flush against every tooth with no visible gap. That's the pattern to expect roughly a dozen times or more over the course of treatment: tight for a couple of days, comfortable and fully seated after that, repeat. If a tray still doesn't fit flush by the end of its second week, or the discomfort doesn't ease up at all, that's outside the normal pattern and worth mentioning at your next check-in rather than waiting. The Real Warning Signs Something's Off The Tray Won't Seat Flush Against Your Teeth This is called poor tracking, and it's the clearest physical sign that a tray isn't doing its job. You'll usually see it before you feel it: a visible gap between the aligner's edge and the tooth, especially near the back molars or along teeth that are rotating rather than just sliding. Poor tracking on one tray tends to compound, since each aligner is built assuming the tooth reached its target position in the tray before it. If tray four didn't fully seat, tray five is starting from a slightly different place than the plan expected, and the gap can widen from there rather than close on its own. Your Teeth Haven't Visibly Moved Since Your Last Check-In Progress with Invisalign is gradual, so this one takes a little patience to judge fairly. But if you're several trays into a stage and comparing photos shows genuinely no change, or a tooth that was supposed to be rotating looks exactly the same as it did a month ago, that's worth flagging. Sometimes it's simply a slower-moving tooth catching up to the rest of the plan. Sometimes it means a tray isn't tracking well enough to actually be moving that tooth at all. You're Consistently Behind the Planned Schedule Most Invisalign plans come with an estimated total timeline and a rough number of trays. Falling a tray or two behind because of a busy week is common and rarely matters much. Falling weeks behind, repeatedly, is a different story, and it's almost always tied back to wear time rather than anything wrong with the plan itself. If your original estimate was ten months and you're now six weeks past that with several stages left to go, that gap is worth a direct conversation rather than pushing forward and hoping it closes on its own. An Attachment Fell Off and You Didn't Notice Right Away Many Invisalign plans use small, tooth-colored composite bumps called attachments, bonded directly onto certain teeth, which give the aligner tray something to grip for more complex movements like rotation or extrusion. They're durable, but they can pop off, especially from chewing something hard or sticky. A missing attachment doesn't always hurt or feel obviously different, which is exactly why it can go unnoticed for a week or two while that particular tooth quietly stops moving as planned. If a tray suddenly feels different on one specific tooth compared to the rest of your mouth, running your tongue over that spot is worth doing. The Most Common Reason Treatment Stalls: Wear Time If there's one answer behind most "Invisalign isn't working" situations, it's this one. The 20-to-22-hour daily wear recommendation isn't a suggestion with room to spare; it's closer to a floor than a target. That leaves two to four hours a day for eating, drinking anything besides water, and brushing and flossing, combined. It's easy to underestimate how quickly that adds up: a long lunch, a coffee sipped slowly through the afternoon, forgetting to pop the tray back in after brushing before bed. Miss even three or four hours a day, every day, and a tray that was supposed to fully seat within two weeks might not get there at all before the next one is due. The math is unforgiving in a way that traditional braces, bonded permanently to the teeth, simply aren't. It's also the single most fixable cause on this entire list, since it's the one within a patient's direct control. What a Refinement Actually Involves When a treatment plan needs to catch up or fine-tune a few remaining movements, most dentists reach for a refinement rather than restarting from the beginning. That means a new digital scan of your teeth as they currently sit, not as they sat at the original consultation, and a new short series of aligners built to finish the specific movements the first series didn't quite complete. Refinements are a normal, planned part of Invisalign treatment for a meaningful share of cases, not a sign that something went unusually wrong. Depending on how much correction is needed, a refinement series might run anywhere from a handful of trays to a couple of months' worth. The wait time to get a refinement scanned, fabricated, and back in your hands is typically a few weeks, worth factoring in if you're trying to plan around a specific event like a wedding. Teens, Growth, and a Question Worth Asking at Your Next Visit Teen patients bring an added variable that adult cases don't: ongoing jaw and facial growth that can shift how a treatment plan needs to unfold partway through. A plan built at the start of treatment sometimes needs a genuine reassessment months in, not because anything was done wrong, but because a growing jaw isn't a fixed target the way an adult's is. How much a specific teen's plan might need to shift, and when, isn't something a general guide like this one can answer. That's a conversation worth having directly at the next check-in, especially for a patient who started treatment early in their teens rather than closer to adulthood. When to Call the Office Instead of Waiting It Out A tray that's uncomfortably tight for more than the first three or four days, one that visibly won't seat after two weeks, a lost attachment on a tooth you can feel is supposed to be moving, or a schedule that's slipped by more than a few weeks are all reasons to call rather than continue on your own. None of these are emergencies, but none of them tend to resolve by simply switching to the next tray and hoping for the best either.  Frequently Asked Questions (FAQs)
September 11, 2026
New crown hurts when you bite down? Learn how to tell a simple high bite from an infection, the warning signs to watch for, and when to see a Midland dentist.
August 21, 2026
A dentist typically recommends a dental crown when a tooth has a large crack, extensive decay, a failing filling, or has undergone root canal treatment, since these situations weaken the tooth structure beyond what a filling can support. At Dentistry of Midland, Dr. John K. Drisdale, DMD, FAGD, examines the extent of damage, the tooth's remaining structure, and the patient's bite before recommending a crown over a smaller restoration. A dental crown is usually recommended when a tooth is too damaged, weakened, or decayed for a filling to hold up. Common signs include a visible crack, a large old filling that's failing, sharp sensitivity to hot or cold, a tooth that's finished root canal treatment, or a tooth that's simply worn down from years of grinding. Dr. John K. Drisdale, DMD, FAGD, evaluates each of these factors during an exam before recommending a crown, and this guide walks through what he's actually looking for. What a Dental Crown Actually Does A dental crown is a custom-made cap that fits over the entire visible portion of a tooth, restoring its shape, strength, and appearance. Unlike a filling, which repairs a specific damaged area, a crown covers the whole tooth above the gumline. That full coverage is what makes it the right choice when a tooth is too compromised for a smaller repair to hold up under normal biting and chewing forces. Crowns are typically made from porcelain, ceramic, zirconia, or a metal alloy, depending on the tooth's location and the patient's priorities around appearance versus durability. Front teeth often use all-ceramic or porcelain crowns for a natural look, while back molars sometimes use zirconia or metal for added strength under heavier bite pressure. Five Signs a Dentist Looks For Before Recommending a Crown 1. A Crack That Extends Below the Gumline or Into the Tooth's Structure Not every crack requires a crown. Small surface cracks, sometimes called craze lines, are cosmetic and don't need treatment. But a crack that runs deep into the tooth, especially one that reaches the pulp or extends below the gumline, threatens the tooth's structural integrity. Left alone, that kind of crack can spread with normal chewing pressure until the tooth fractures. 2. A Large, Aging Filling That's Starting to Fail Fillings don't last forever. Over years of biting and chewing, a large filling can develop small gaps at the edges where bacteria sneak in, or the surrounding tooth structure can weaken from supporting an oversized restoration. When a filling covers more than roughly half the tooth's surface, a crown is often the more durable long-term fix. 3. Sharp Sensitivity to Hot, Cold, or Pressure Sensitivity that's sharp, sudden, and tied to a specific tooth (rather than generalized sensitivity across many teeth) can indicate that decay or a crack has reached closer to the nerve. This is one of the more common reasons patients schedule an exam in the first place, and it's a signal worth taking seriously rather than waiting out. 4. A Tooth That's Completed Root Canal Treatment Root canal treatment removes the infected or damaged pulp from inside a tooth, but that process also leaves the tooth more brittle than it was before. A crown placed after root canal treatment protects the tooth from fracturing under normal use, which is why it's a standard recommendation rather than an optional upgrade in most cases. 5. Significant Wear From Grinding or Long-Term Bite Issues Patients who grind their teeth at night, a habit called bruxism, can wear down tooth enamel over years without realizing it's happening. By the time wear is visible or a tooth starts to feel different when biting down, a crown can restore both the shape and the protective function that's been gradually lost. Quick Answer: With proper care, a dental crown typically lasts between 5 and 15 years, and some last significantly longer. Lifespan depends on the crown material, daily oral hygiene, and habits like teeth grinding. Regular checkups let a dentist catch early signs of wear before a crown needs replacement. What the Crown Procedure Involves Getting a crown at Dentistry of Midland generally takes place over two appointments, though some cases may be completed sooner using same-day technology depending on the tooth and material chosen. The general steps include: Preparing the tooth. The damaged or decayed portion is removed, and the tooth is reshaped to create room for the crown to fit properly. Taking an impression. A digital scan or physical impression captures the exact shape needed for the custom crown. Placing a temporary crown. While the permanent crown is fabricated, a temporary one protects the tooth. Fitting the permanent crown. Once ready, the permanent crown is checked for fit and bite alignment, then cemented into place. Dr. Drisdale's use of advanced imaging and precise digital impressions helps ensure the final crown fits comfortably and blends naturally with surrounding teeth from the first fitting. When a Crown Isn't the Right Call Not every damaged tooth needs a crown, and a thorough exam is what separates a case that needs one from a case that doesn't. Minor chips, small cavities, and cosmetic imperfections are often better addressed with a filling, bonding, or a veneer, all of which are less invasive and preserve more of the natural tooth. Part of choosing the right dentist is trusting that the recommendation matches the actual damage, not defaulting to the most extensive (and most expensive) option. Why Experience and Credentials Matter for Crown Recommendations Deciding between a filling, an inlay, and a full crown requires judgment built on experience. Dr. John K. Drisdale, DMD, is a Fellow of the Academy of General Dentistry (FAGD), a credential that reflects extensive continuing education in restorative techniques, and a member of the American Academy of Cosmetic Dentistry (AACD). He was also named a 2024 Super Dentist for West Texas. That combination of restorative training and cosmetic expertise means a crown recommendation accounts for both the tooth's structural needs and how the final result will look and feel. Frequently Asked Questions (FAQs)
More Posts